
ok so I know I kind of skip a few steps with my painting but this isn't a painting lesson just an informative piece about technique....called alla prima. Alla prima comes from Italian and means "all at once" but since I don't have the time to finish this piece in one sitting I'm gonna be storing it in a box secured with duct tape. So basically alla prima consists of one layer that you have to keep wet, its a wet on wet technique and its all done in one layer! None of that underpainting crap they talk about in art school because that's just a waste of time if you have a good grasp of color and shading to begin with. Ok so you have to make sure that the painting stays wet by keeping it in a tupperware that is duct taped on the edges to avoid air entering and ruining your work.
I really enjoy this technique because you can put your piece away without worrying about it drying and you can continue to work into it until its perfect.
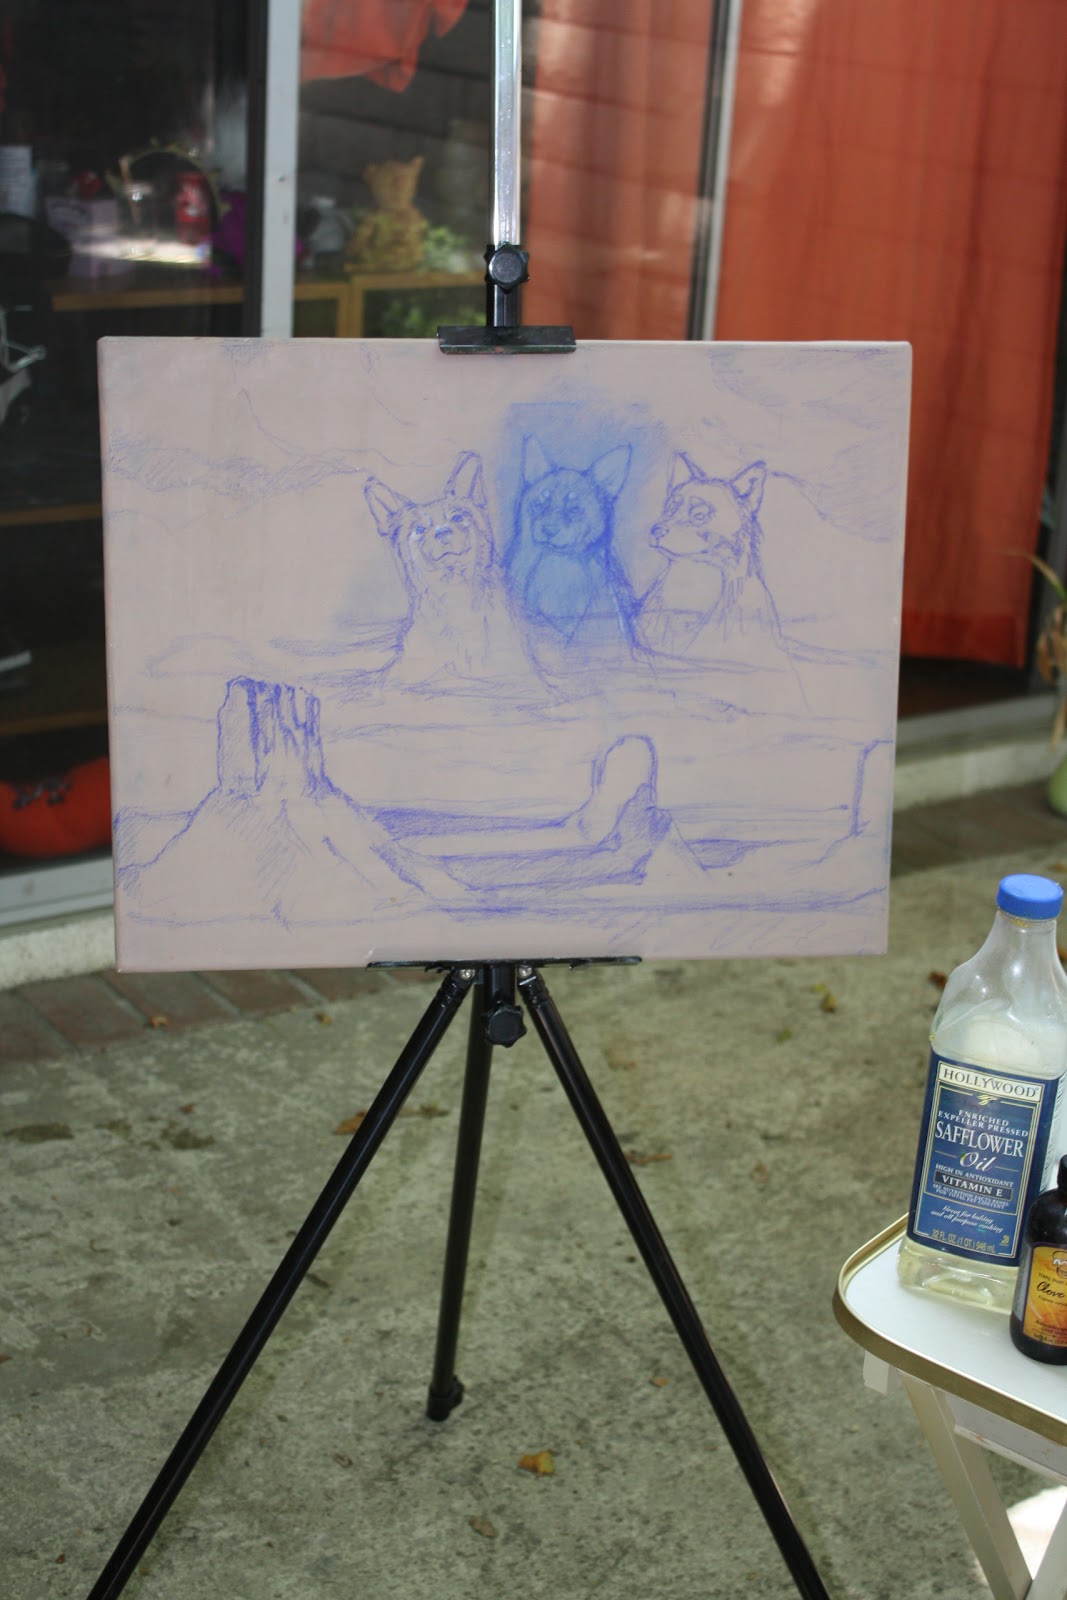
I'm going to start with the middle wolf because it bothers me that I messed up on the drawing. Its going to take a little more work because I have to fix the proportions on the snout.

The sillohuette of her drawing has been primed using acrylic paint to keep the wood from absorbing the oil paint.


I use a variety of brushes and I don't discriminate against type, I'm just demonstrating my favorites and most useful when attempting to create an alla prima piece. The fan brushes on the far left are for blending but also come in use when creating texture like hair. If you're pretentious about your brushes then the brushes in the middle you might find absurd. They are the cheap kids brushes they sell at micheals for a couple bucks. Its always great to have as many of those because they come in use the most when blending edges and softening strokes. The large makeup brushes on the far right you use very lightly to blend large areas.


I really enjoy the smell that these two blended create.


These are all the colors you're going to need for now:
Cadium YellowCadium Red
Alizarin Crimson
French Ultramarine Blue
Burnt Umber
Ivory Black
Flake White (translucent for adding highlights to your piece and works great for creating flesh tones)
Titanium White (opaque white for mixing and lighting your colors)
This is really all you need to make paintings from nature, if you want to make neon colors or something unnatural you need to purchase an already made color (for example quinacridone magenta) also alot of pigments that you find in the stores have a translucency so you have to keep that in mind when working on a piece.


This is what the palette should look like when ready.

I have to stress that this is a "wet on wet" technique so oiling up the piece you are going to paint is necessary. Don't add oil to whatever you aren't going to paint immediately.

Here I am trying to fix my drawing using a thin brush and bold strokes to establish proportions.


Its important to establish the midtone and the shadows in this stage, so mix up a midtone and add some black those are gonna be the two main colors being applied. Mine is looking kind of light but its a cloud dog so I'm not even sure how its going to work out in the end.

a dowel comes in handy to keep your fingers and hands from touching the painting and also to keep the paint of your skin cause that's no good for you anyways.

I fixed the snout and I'm feeling rather pleased.

Ok so I kept working and I forgot to take pictures but this is what it looks like when you begin to add highlights and texture whilst softening edges.

Here's Jenny's piece in the beginning stage. I was rather pleased with her because she established the midtone and the darktones in the beginning without worrying about it looking like anything.

Like I said, my doggie was looking kind of light so I added some grey to create his fur.


Here she started adding details to make it look more like fester. I think she did a great job on capturing the expression of the face.


Adding the highlights was difficult but she pulled it off and even though I think she needs to continue working on the face (specifically the mouth) I'm pretty proud of the progress she made. Did I mention this is her first oil painting? yea I dunno if you can call it talent or what but shes pretty good at drawing so I guess the painting wasn't too difficult for her.

I'm really excited to see how our pieces turn out. I have to give credit to Lance Richlin for introducing me to the alla prima technique because I really didn't learn anything in art school http://lancerichlin.com/. Even though I'm more into making costumes now a days I still enjoy fine art and illustration. I haven't made a painting since last fall so I'm happy to be painting again.
-Amanda Jacques
No comments:
Post a Comment